Like you already know from the previous post — I took an entire Saturday to bake all of the layers of the wedding cake. I triple wrapped them and put them in the freezer until they were needed. Well this weekend they were needed. It was time for Josh & Irene’s ‘Party in the USA’. My gift to them was a wedding cake and I wanted to make it extra special and completely delicious.
I brought all of the materials to my Parent’s house on Friday night so that Saturday morning I could get up bright and early and make the icing and assemble the cake. I set up my work-shop on her laundry table in the basement. I didn’t want everyone walking by saying..”Ohh what are you doing?”, or “Why does it look like that?”, or anything else so I basically hid away in the basement.
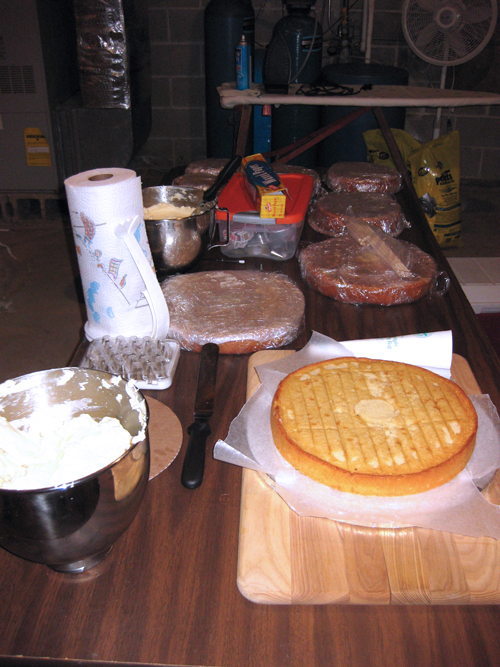
Now, don’t look to me for any real rules on how to frost/ice a wedding cake. I know I didn’t do it the proper way but I was working with the area and materials I had and I always make it work. I think if you were a serious baker you would have each layer “crumb coated” and then you would start to stack them BUT like I said I went ahead and did it my way.
*Also — a quick note about the middle piece in the large tiers. This is from the “heating core” I used in my 12″ cake pan to help make the cake bake evenly. You add batter to the heating core and replace it in the cake when it done baking like a cork. I think you can check out Wilton’s site for more information on that. And the lines on the cake are from my cooling rack — also, probably not the “professional” bakers way of doing things but it got the job done!
I started with the bottom 12″ tier and added a “dam” around the edge to keep the strawberry freezer jam filling in place.
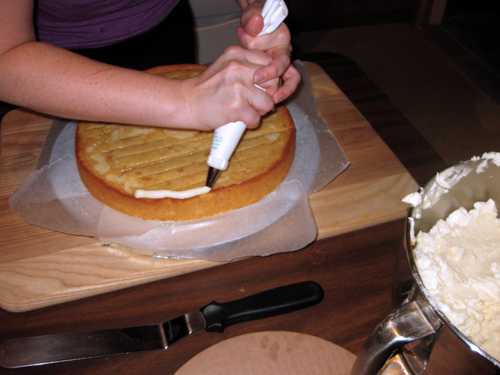
Then I took my bag of freshly made freezer jam and I snipped off the tip and piped it onto the cake. Hubby smoothed it out and the first layer of the first tier was half complete.
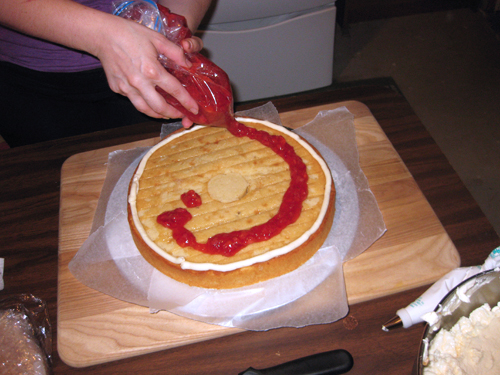
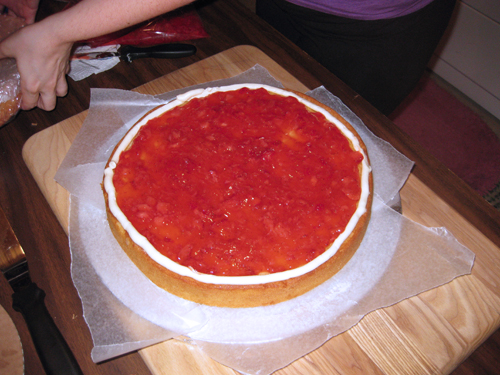
I continued with the next too layers of the bottom tier and then it was time to add the dowel supports. Hubby had pre-cut them last week to my specifications and I let him help me add them to the cake. We were creating a solid base so that the other cakes didn’t sink into the center of the cake in a big mushy mess.
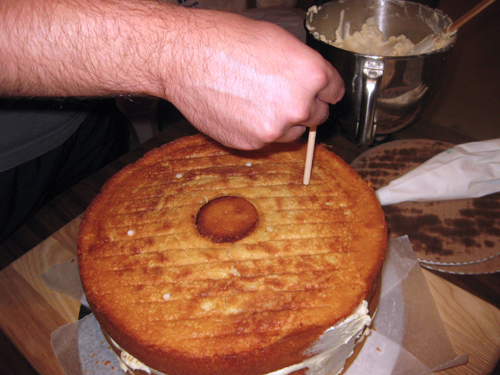
I continued on while Hubby stood by ready at a moments notice for when I need the next layer of cake to be unwrapped. We added the 1st layer of the middle tier and I once again made a dam for the filling. This time I filled it with a homemade french pastry cream and sliced fresh strawberries.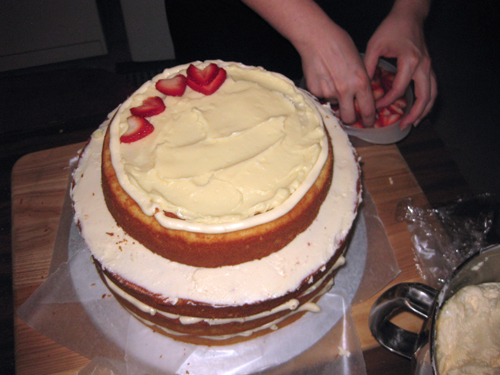
After we put the 2nd layer of the middle tier on the cake I was beginning to realize that the cake was massive. Hubby held the third layer in place while I looked at the cake trying to decide if we should forgo the third layer of that tier altogether. We ultimately decided that we would skip the third layers for both the middle and the top tiers. This cake was just getting too huge! We added a sharpened dowel right down through the middle of the cake to keep it from slipping and add a little bit ore support. (I am not sure why it looks like it is leaning in the picture — it wasn’t.)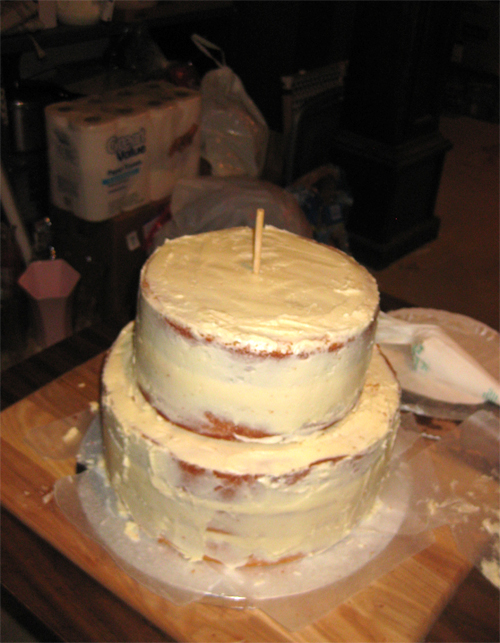
We finished up the top tier with the same strawberry freezer jam filling and I finished up a nice crumb coat of icing. Hubby and I lifted the cake into the freezer chest – conveniently located in the basement right by my work table – and I let it sit in there for about 10 minutes to hardened the icing so I could apply the next coat.
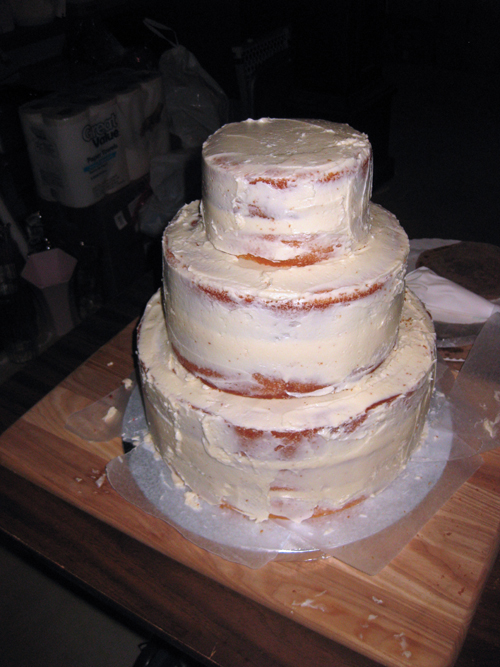
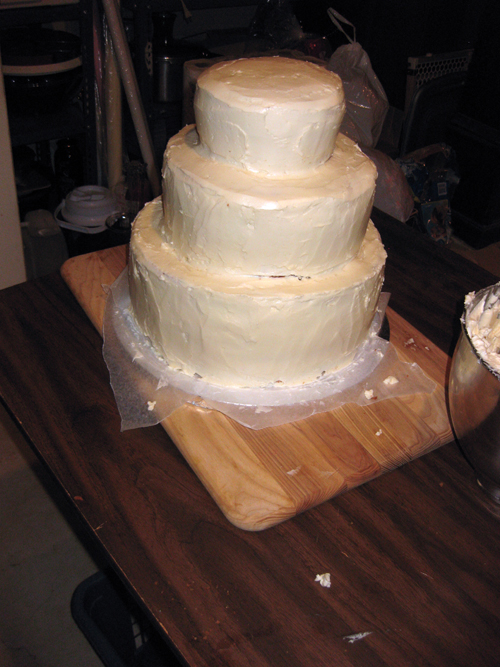
I know that if I wanted to be completely obsessive I could have spent another hour smoothing and smoothing and smoothing the icing on the cake BUT I was happy enough with the cake being almost smooth and completely tasty. I had icing all over my hands (I was working on my own at this point – Hubby needed to get ready for the party) and I was under a deadline so I didn’t take many more pictures. I got started on the “topper” of flowers and the other scattered flowers and this was my favorite part. I added a couple sparkly butterflies as well and I was really happy with the results.
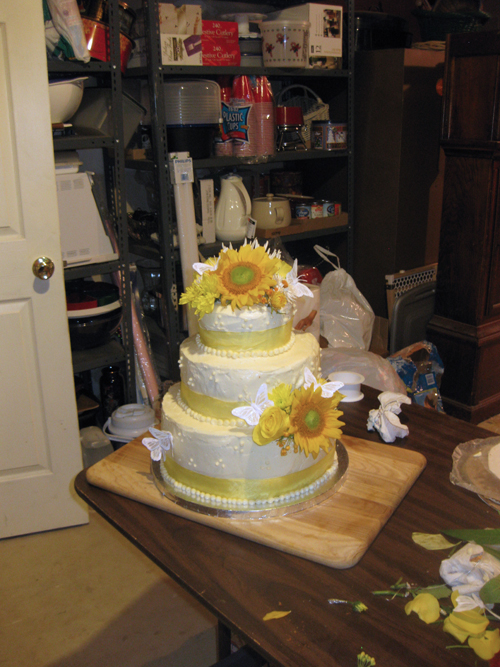

The Bride and Groom seemed to be really pleased with their cake and as they smashed the first slice in each others faces I heard them say — “…this is good cake!!” That’s what I wanted most — a delicious result!
Everyone ate every piece of the cake except a couple which they promptly took home a their seconds, and we wrapped up the cake topper for when Josh & Irene come back to visit in a year (possibly). This is what was left — destruction and all.
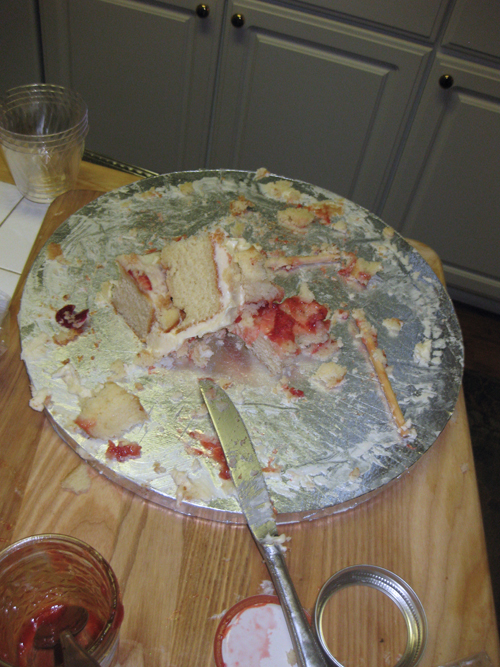
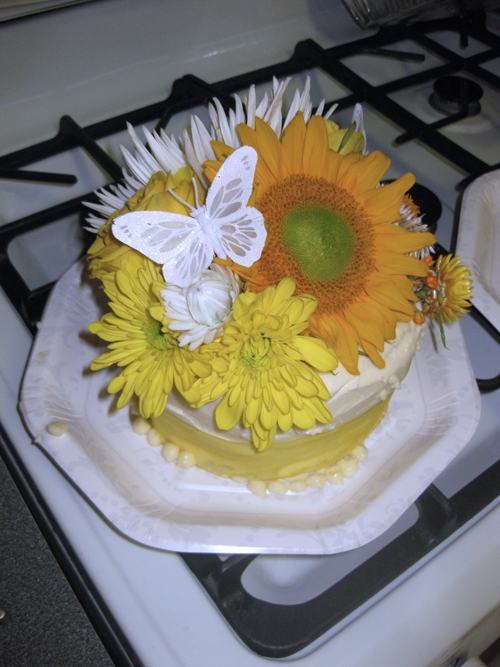
So, all in all let’s count up the totals of what was used in the cake making process. (Keep in mind two layers didn’t make it on the cake because of our executive decision, and I made two batches of icing but I only needed one and a little bit of the second.
Cake:
9 cups butter
15 cups of sugar
30 eggs
6 tsp vanilla
18 cups of flour
6.75 tsp baking powder
1.5 tsp salt
6 cups of milk
Icing:
24 large egg whites
6 cups sugar
20 sticks of butter
2 TBS vanilla
EEK!!!
I would do it again…
PS:(Oh and I made Irene a bouquet too!)

Recipes
Butter Cake (Refer to http://www.wilton.com/ for baking times, and quantity needed per cake pan)
This cake has a firm, moist texture that makes it perfect for tiered designs. We’ve added almond flavor to give it a richer taste everyone will love.
Source: Wedding Cakes – A Romantic Portfolio
Ingredients:
1 1/2 cups butter, room temperature
2 1/2 cups granulated sugar
5 eggs
1 teaspoon pure vanilla extract
3/4 teaspoon No Color Almond Extract
3 cups all-purpose flour
3/4 teaspoon baking powder
1/4 teaspoon salt
1 cup milk
Makes: About 7 1/2 cups cake batter.
instructions
Preheat oven to 350°F. Spray pans with vegetable pan spray, or use Cake Release.
In mixer bowl, cream butter and sugar until light and fluffy. Add eggs one at a time, mixing well after each addition. Mix in vanilla and almond flavor. Mix flour with baking powder and salt. Add flour mixture alternately with milk, starting with the flour; mix well. Pour into prepared pans.
Cool 10 minutes in pan. Loosen sides and remove. Cool completely before decorating.
Swiss Buttercream Recipe
(from Smitten Kitchen)
For a wedding cake (or most of one, depending on the size)
2 cups of egg whites (approx. 12 large)
3 cups sugar
5 cups butter, softened (2 1/2 pounds, 10 sticks)
1 tablespoon vanilla extract
Whisk egg whites and sugar together in a big metal bowl over a pot of simmering water. Whisk occasionally until you can’t feel the sugar granules when you rub the mixture between your fingers.
Transfer mixture into the mixer and whip until it turns white and about doubles in size. (Here’s a tip: when you transfer to the mixer, make sure you wipe the condensation off the bottom of the bowl so that no water gets into the egg whites. This can keep them from whipping up properly.)
Add the vanilla.
Finally, add the butter a stick at a time and whip, whip, whip.
Smitten Kitchen note: Do not have a panic attack when this takes a while to come together (though I did every time). One super-large batch took 15 minutes, but it did and will come together. Patience, young Jedis.

It was like Buttuh. I liked it so much I went off my diet to eat 3 pieces.
Aww thanks. I am happy you suspended the diet. It’s good to have a treat every once in awhile…even if it does put you into a sugar coma.
What happened to all of the extra French Cream? I bet someone had a good time with that.
ok so who is Roadie? Hmmmm. The cake was one of the best if not the best wedding cakes I’ve ever eaten and I look forward to eating my frozen slice sometime soon.
Is the ratio of butter to sugar directly related to the goodness of the cake? If the cake was 70% butter would it be better than 65% butter? inquiring minds want to know>