While I was away Hubby and his Dad worked on the Canyon Slate Tile floor as well.
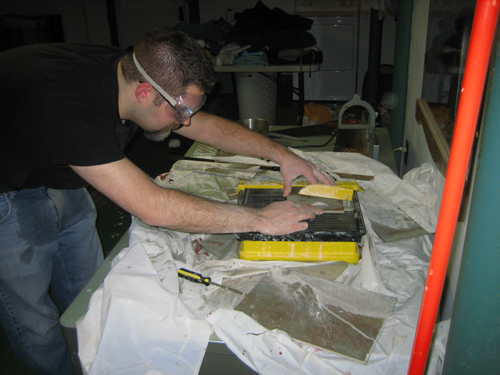
Hubby walked up and down the stairs a million times using the tile saw to cut the pieces for the floor. Luckily a friend of Hubby’s from work let us borrow the 4inch wet saw to cut our tiles and therefor we saved about $65 on renting one from Home Depot – SCORE!
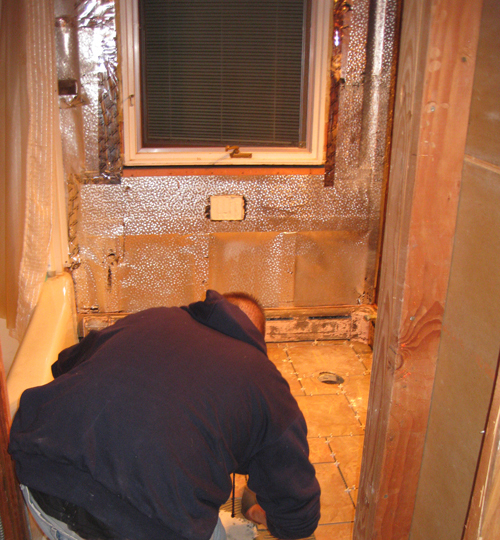
I got home just in time to take pictures of the beginning of the tiling and help as well. First they smoothed the thin set onto the floor with the flat side of the trowel (to avoid air bubbles) Then They went back over with the notched trowel to make the ridges for the tiles to stick to.
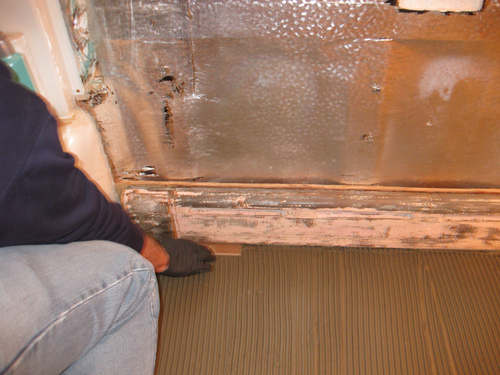
As they went along they would make sure that the tiles were level with each other and that the spacers were holding the 1/4″ grout lines. It was really awesome that they had all of the tiles cut and numbered. They had taken pictures of the tiles in place on the floor for reference. The pictures really came in handy as we were able to double check that every number was in the right spot.
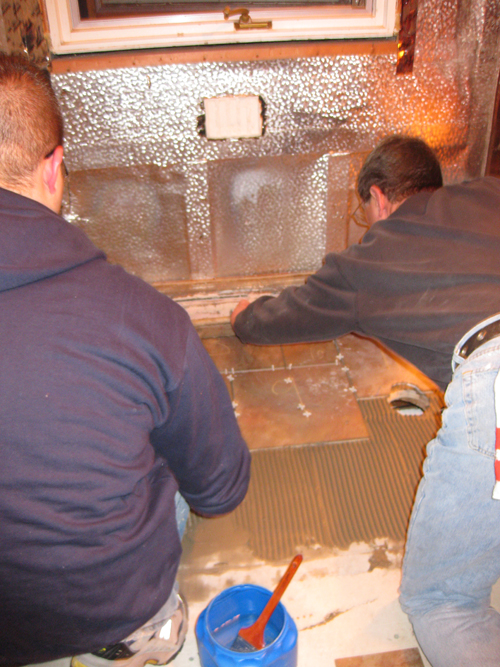
Hubby’s Dad mixed more thin set as needed and they kept working their way out of the bathroom.
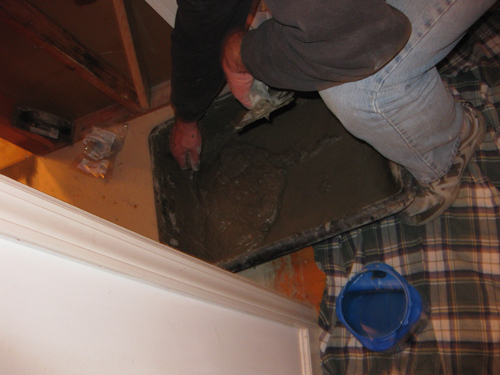
Hubby did a good job of keeping everything lined up and beautiful.
And the floor was all laid out. Every numbered tile in the right spot and all the spacers holding the spaces.
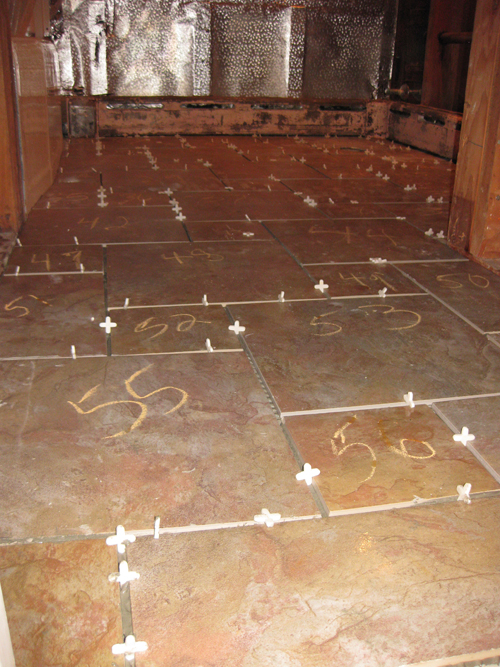
Before we can grout the floor has to set for 24 hours.
To be continued…

It is a very very nice floor and the installation looks great. Really super.