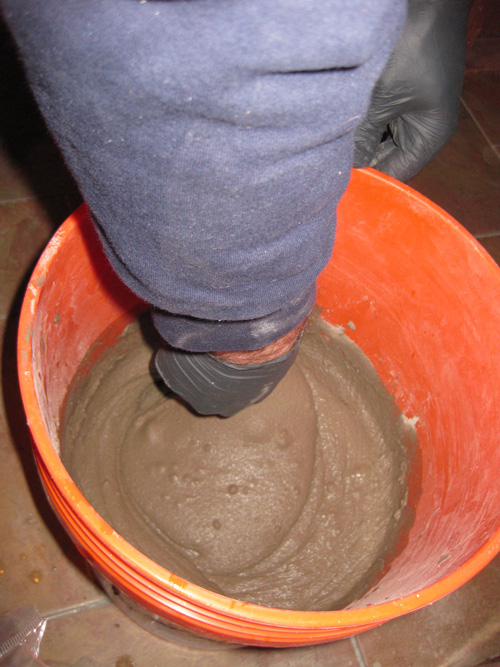
We installed the tile a little bit ago and after waiting more than the 24hours – we finally got a chance to do the grouting.
Hubby’s back & feet have been hurting him so I took on the task. I have techincally done this before but not in a very long time so, I watched a few DIY / HGTV channel videos and some videos on YouTube and felt I was ready to tackle the project.
Then I got to work using the “float” and I worked the grout diagonally into the cracks. I kept the float at a 45 degree angle too. There aren’t any pictures of this because, I was working! The grouting process is time sensitive so we felt like the urgency of giving it our complete attention.
After pushing the grout into all the cracks and using the float at the 45 degree angle to remove as much extra as I could then, I used the special tile/grout sponges and I had to wipe away all of the excess. This took a long time but, I kept at it.
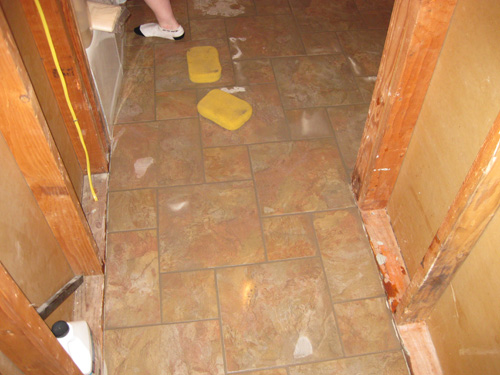
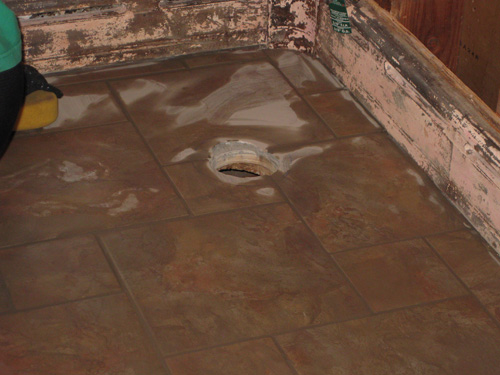
I was aching after all that bending, scraping, wiping, etc. This is how the wet grout looked at the end of it all. (Of course when it is wet it is noticeably darker and there is a slight haze that would be removed after 24 hours with a cheese cloth.)
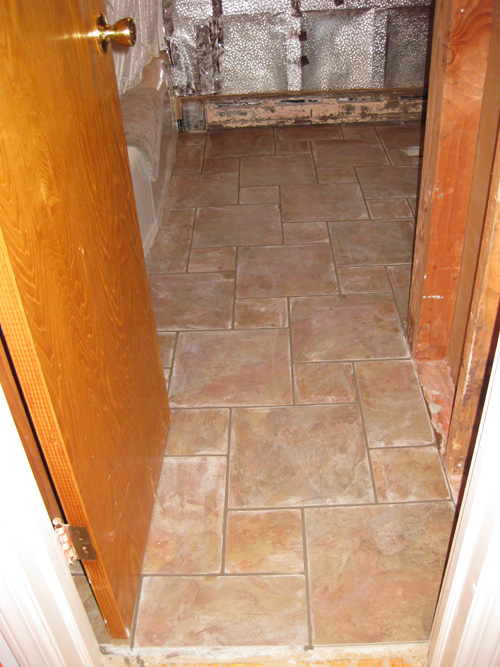
I was ready for bed after it all so we closed the door and locked it (just in case one of us tried to go in there for some reason and forgot that the floor needed 24 hours to cure). When the 24 hours had elapsed we opened the door and – TADA!!!! – beautiful grout! *Note: Grout is lighter in the pictures because of the flash. The color is “natural gray” according to the bag. I would say it is “Ash”.
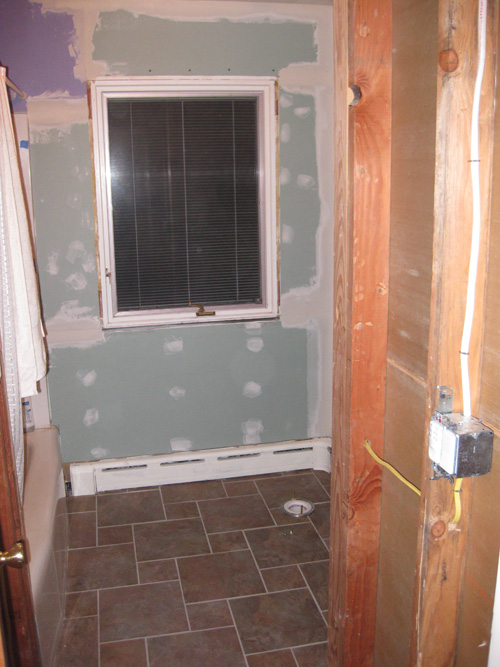
The grout ended up being slightly lighter than we had remembered but after some reading we found out that different kinds of water can affect the color and/or if you use too much water it can lighten the color. One suggestion was to use a 50% water / 50% vinegar solution to see if any salt residue was left on top. I thought I would give it a try. After a quick brushing of the solution on the grout lines the light whiteness was gone – the color was more accurate. Most importantly though, we were happy with the color and the results!

(Note the guys had time the next weekend to put up a few walls of sheet-rock and also install the toilet again! Woohoo for a working toilet upstairs!)

